NEW VIDEO: How to Install a TOTO WASHLET or WASHLET+ Bidet Seat
 The TOTO WASHLET bidet seat provides elevated bath space luxury with simple, do-it-yourself installation.
TOTO WASHLET bidet seats’ advanced technologies elevate your daily routine by offering luxurious cleanliness and comfort while their sleek, modern design enhances your bath space. Start enjoying your new WASHLET today with this simple DIY installation.
Why wait to experience your WASHLET bidet seat's unrivaled comfort and cleanliness when transforming your bathroom into a peaceful oasis is just a quick installation checklist away?
Step-by-Step TOTO WASHLET Bidet Seat Installation Instructions
Before starting, you will need an adjustable wrench, a Phillips-head screwdriver, and a ground-fault 120-volt outlet within three feet of your toilet.
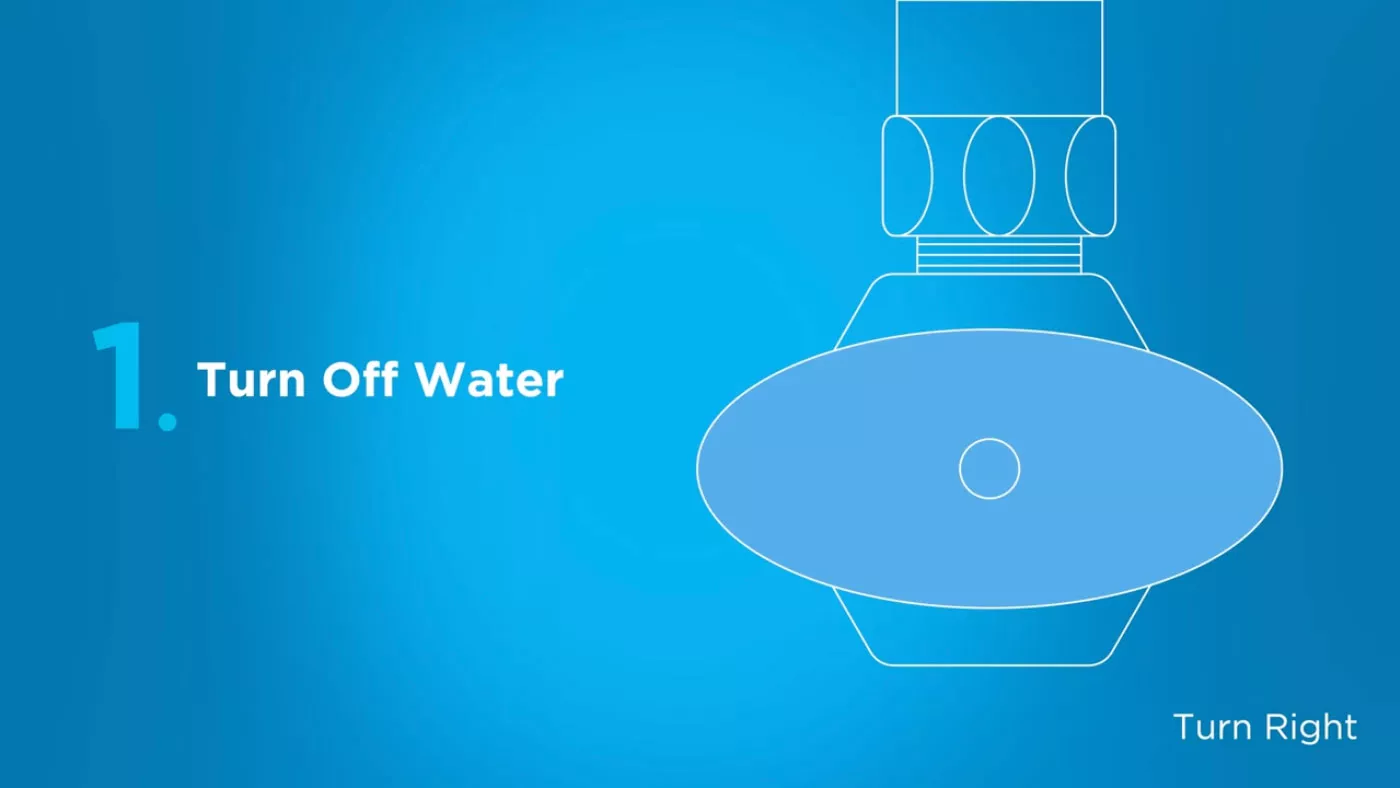
- Turn off the Water Supply to Your Toilet
Close the water shut-off valve and flush the toilet to empty any water stored in the tank.

- Unscrew the Water Supply Hose Connection
Before unscrewing the line, place a small container or sponge below the water supply hose to catch any excess water in the line.

- Attach the T-connector
Your WASHLET bidet seat comes with either a brass or plastic T-connector. If your T-connector is brass, you will need to gently tighten it with an adjustable wrench. If your T-connector is plastic, it will require finger tightening only.
The T-connector connects seamlessly to the base of your toilet, where your water line was connected before its removal.

- Attach the Toilet Water Supply Line
Reconnect your toilet’s water supply line securely by confirming the rubber cone washer is present in the water supply line’s thumb nut and securely tightening the line to the bottom of your T-connector. TOTO also provides an extension adapter should you need one.
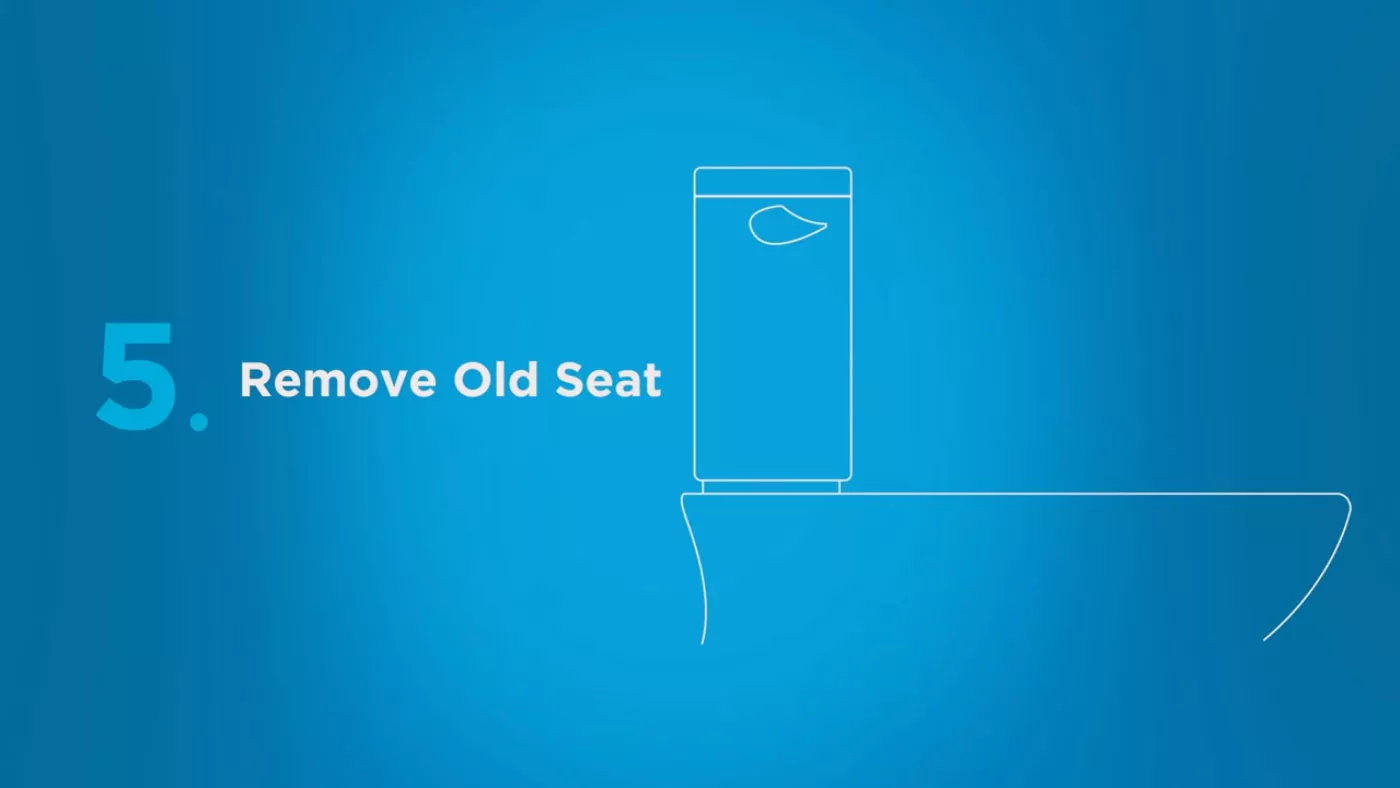
- Remove Your Old Toilet Seat
After removing and recycling your old toilet seat, clean the surface around the seat mounting holes to ensure your new WASHLET bidet seat properly aligns.
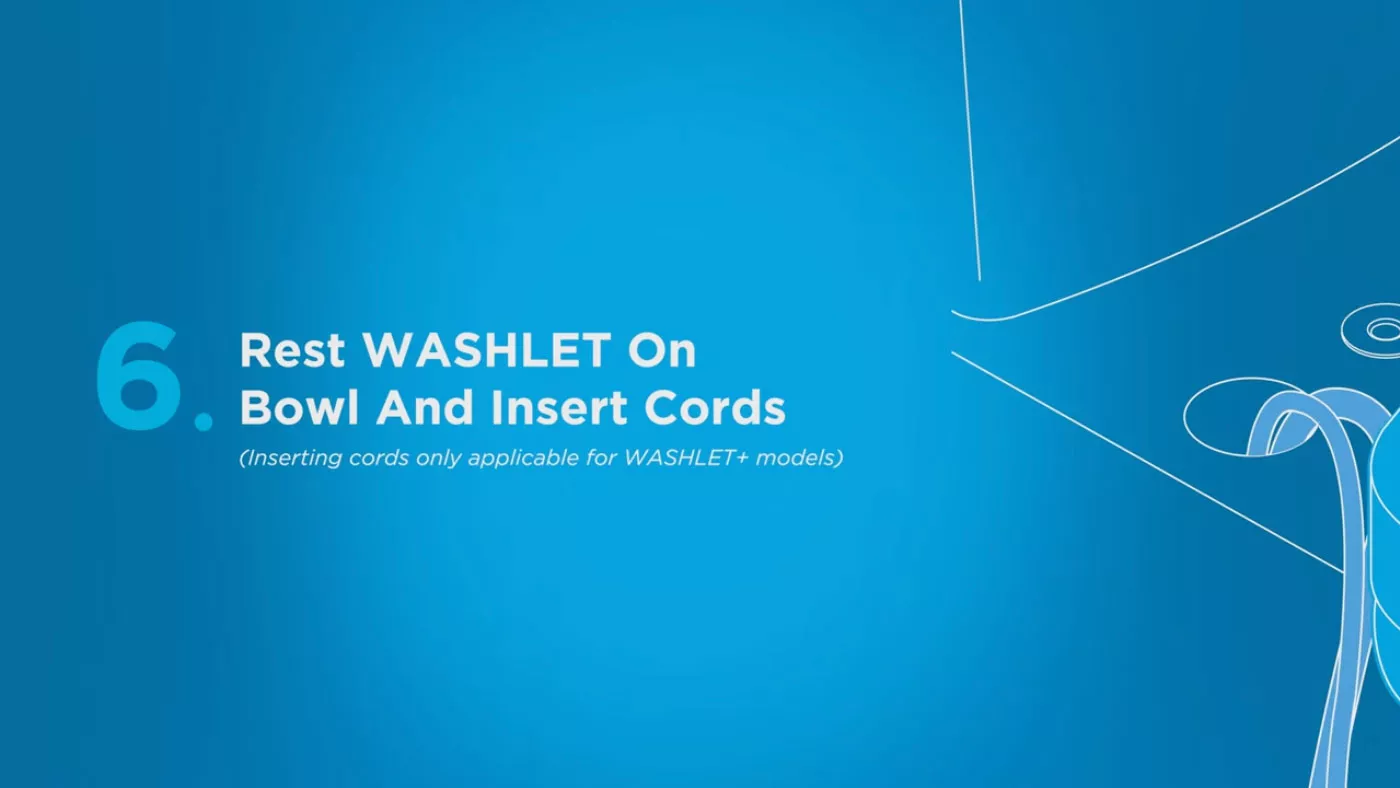
- Rest Your New WASHLET Bidet Seat on Your Toilet Bowl and Position the Electrical Cord and Bidet Seat Water Supply Hose
Gently rest your WASHLET bidet seat on your toilet bowl and confirm the electrical cord and water hose are in an easily accessible position.
For WASHLET bidet seat models, rest the electrical cord and bidet seat water hose outside of the bowl.
For WASHLET+ models, insert the cord and hose easily into the hole on the far left of the mounting surface area between your new bidet seat and your toilet tank.
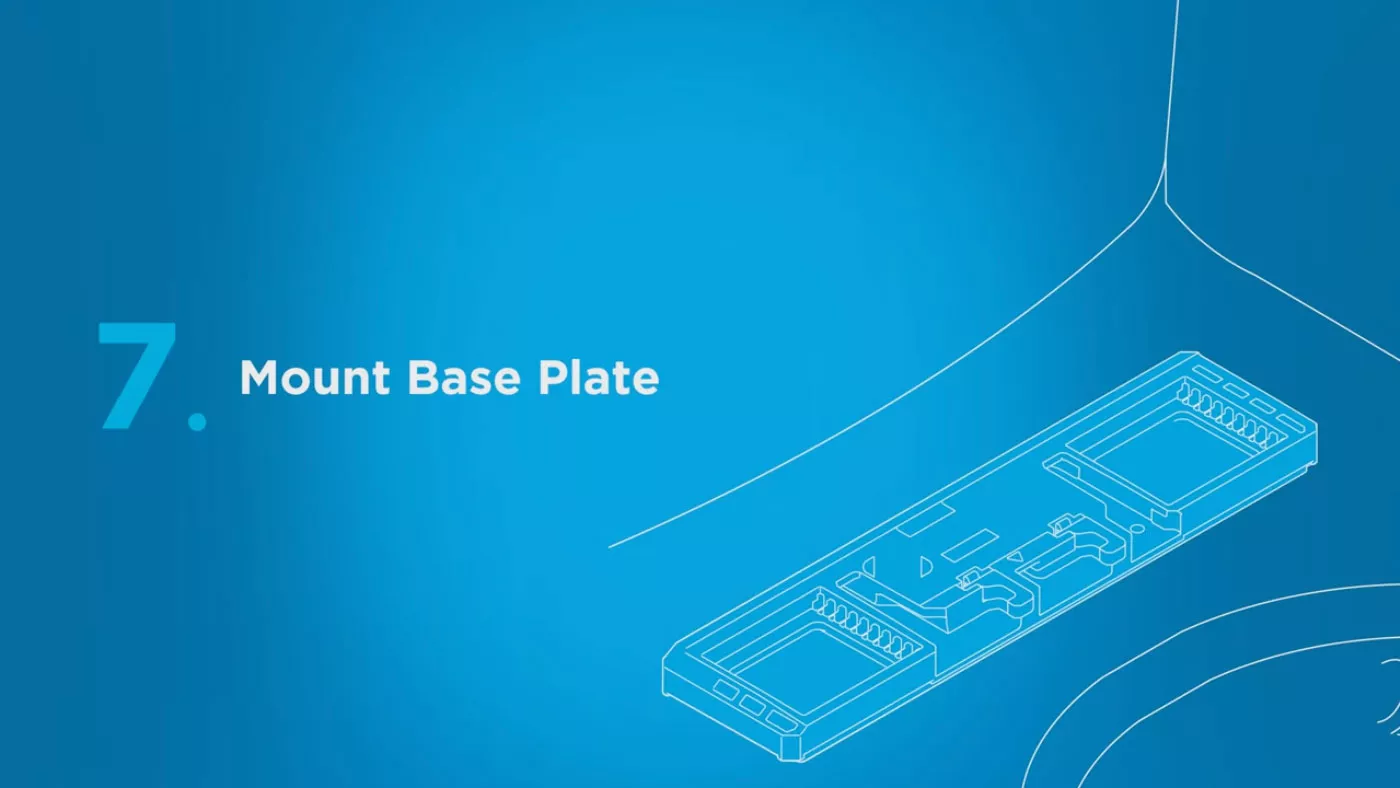
- Mount the Base Plate
Secure the base plate in the center of the mounting surface by inserting the compression sleeves into the mounting holes. Your WASHLET will come with one of two base plates. One model includes metal adjustment tabs, and the other, plastic.
Set the adjustment tabs into the baseplate. The arrows on the adjustment tabs can be pointing outward or inward depending on the distance between the mounting holes on your toilet tank.
Center the base plate over the mounting holes with the back part of the base plate closest to the toilet tank and tighten the screws snugly but loose enough to make adjustments later.
For a visual guide, review the above video step-by-step guide beginning at timestamp 03:08.
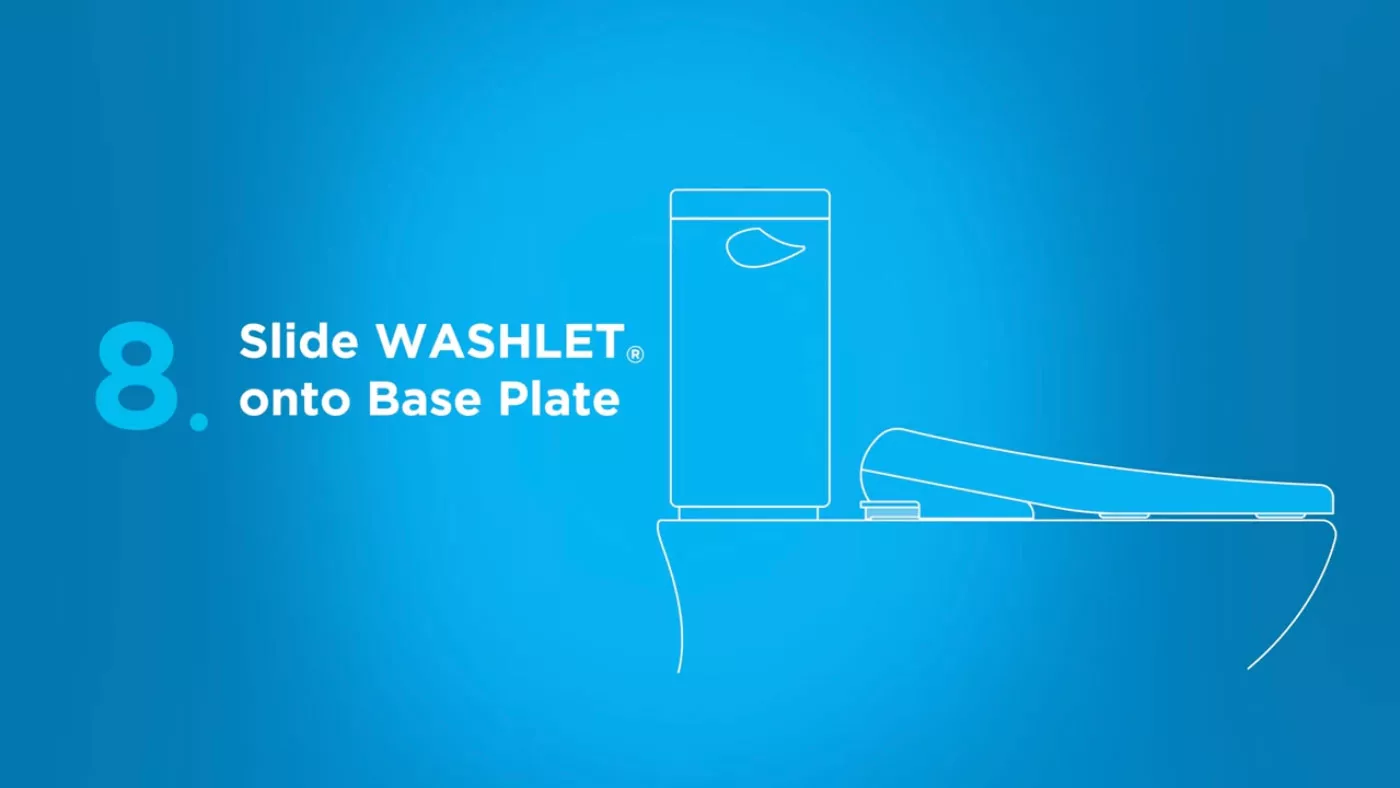
- Slide Your TOTO WASHLET Bidet Seat onto the Base Plate
Carefully slide your WASHLET model onto the baseplate until you hear a click. Your WASHLET should slide smoothly onto the baseplate. However, if adjustments are needed, simply press the release button on the side of your WASHLET, loosen the base plate, recheck the alignment, and then adjust.

- Install the Bidet Seat Water Supply Line
Take the bidet seat water supply hose you inserted into the far-left mounting hole (WASHLET+) or rested beside the bowl (WASHLET) and attach it securely to the open valve on the side of your T-connector. Ensure the water supply line is not kinked and that no tools were used to tighten the connector nut.
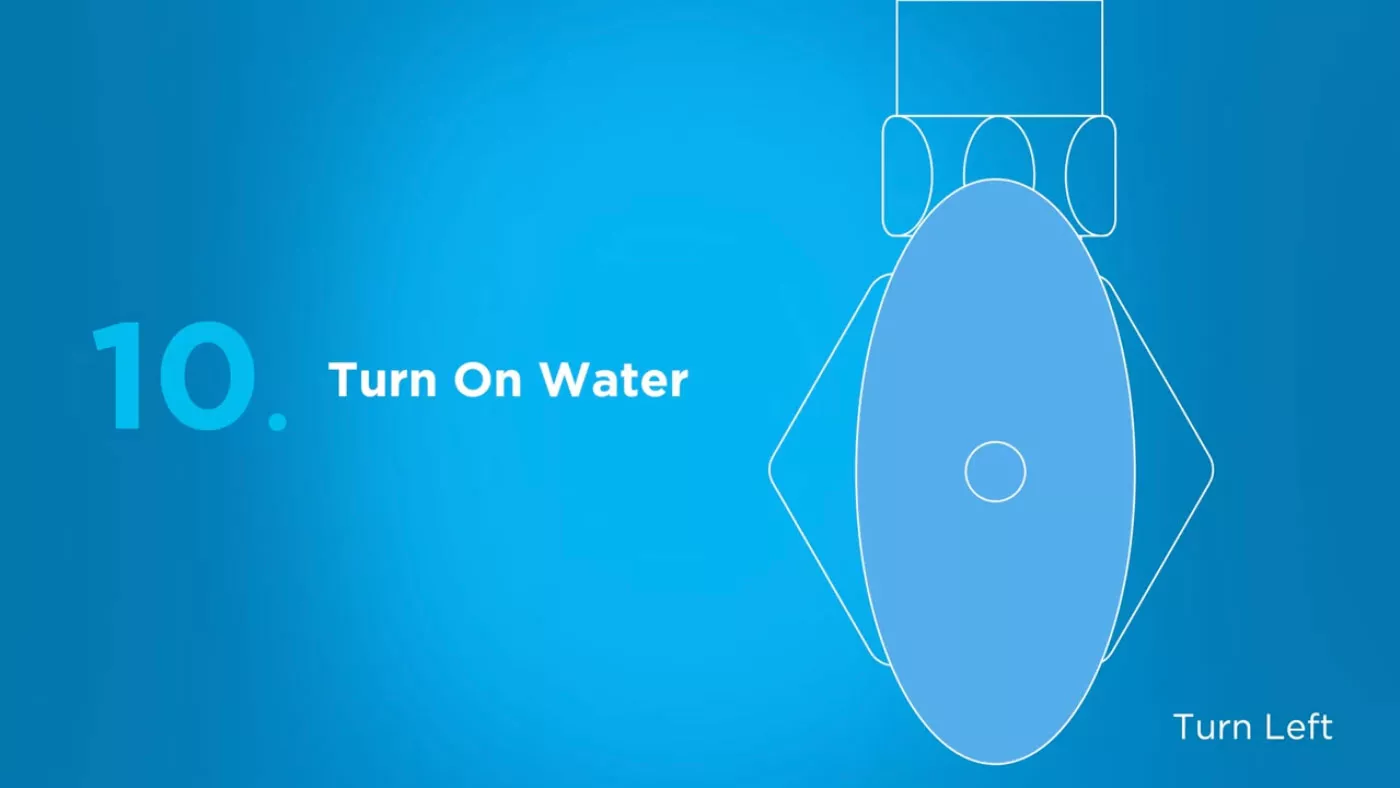
- Turn Your Toilet’s Water Supply Back On
Twist your toilet’s shut-off valve to an open position to reinstate the flow of clean water.

- Plug in the Electrical Cord
Plug the electrical cord attached to your WASHLET into a GCFI outlet within three feet of your toilet.
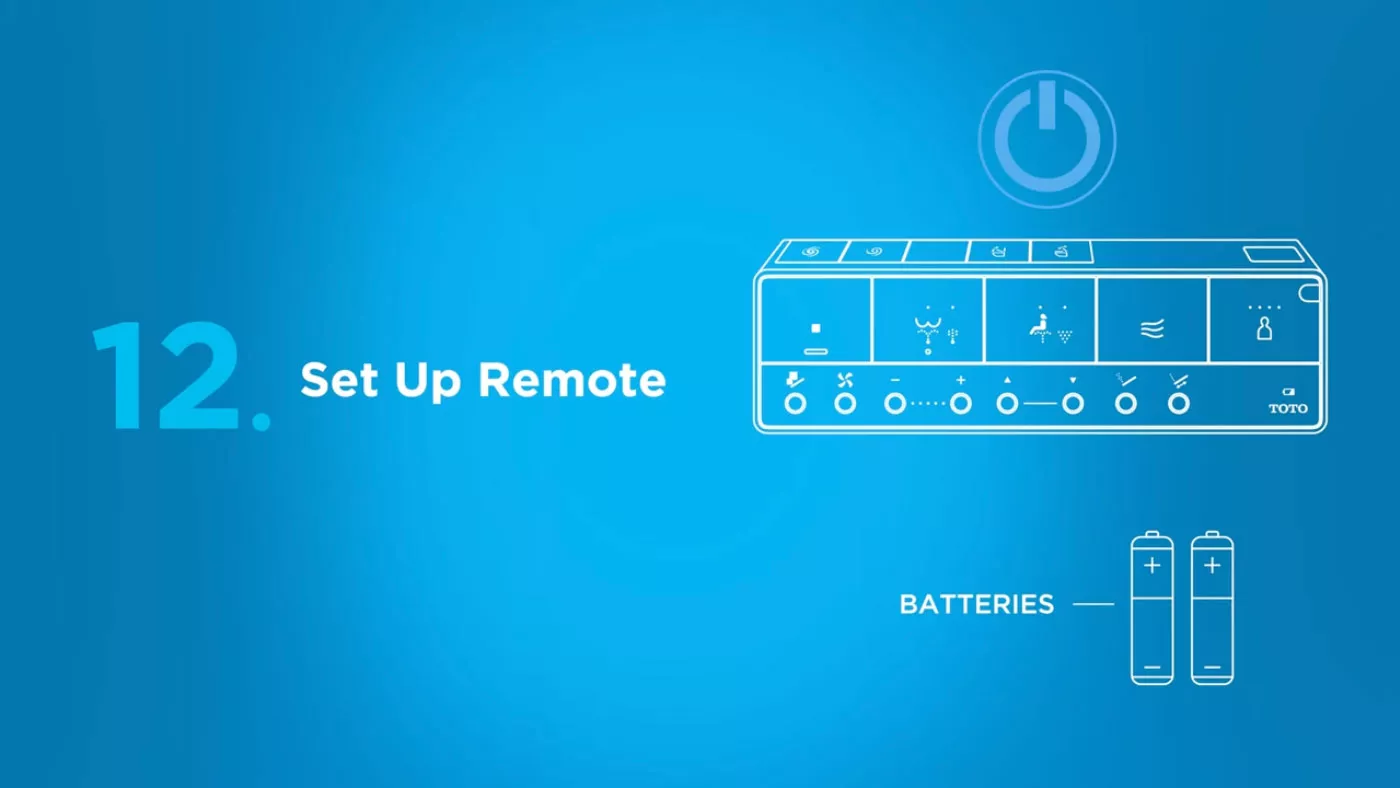
- Set up your Remote Control and Test Your Handiwork
Insert two batteries into the WASHLET remote and press the power button to select your language. Gently apply pressure to the WASHLET bidet seat in the 10 o’clock position and press the rear cleansing button on your remote. Make sure you are prepared with a container to catch spraying water. Wait for the cleansing wand to extend, confirm functionality, then press the stop button.
You are now ready to enjoy the elevated design, cleanliness, comfort, and tranquility a TOTO WASHLET brings to your bath space. Your WASHLET or WASHLET+ provides a simple, frustration-free, DIY bathroom upgrade.
If your WASHLET is not operating properly or you have any questions, please do not hesitate to call us at 888-295-8134, ext. 4. A member of our highly-skilled Technical Support team will be happy to assist you.